

The first thing you need to do is measure your windows. If you live in a newer home, you might be able to get away with only measuring one window. I live in an older building, and I had to measure all of my windows. This is because living room, for example, has four different sized windows. Once everything is measured, you need to determine how long you want your curtains to be. My living room curtains go the full length of the window and then hang a little below the sill. Despite having four different sized windows, I made all of my curtains the same length to at least give the illusion of identical sized windows.

Cut your fabric according to your determined measurements for each panel. You should also iron each panel too to remove any creases. Zig zag
 |
| Side seams |
Stitch the sides first. On one side fold the fabric over by 1" and stitch down, this is going to be the outside edge of your curtains. Fold the fabric over by 2" on the opposite side and stitch down. This will be the side of the panel that goes down the center of the window when the curtains are closed. Iron each side to set the creases.
Now it is time to stitch the top and bottom. Fold the top of the panel over 4" and stitch down along the edge of the fabric you folded over. Now stitch an additional line 1 1/2" from the fold. This should create a 2" pocket for the curtain rod to slide through and a 1 1/2" piece that sits above the curtain rod.
Finally, stitch a 1 1/2" hem along the bottom of your curtain. Voila! You have created a curtain panel. Now repeat all the steps to make a second panel for the same window, just make sure the two panels mirror each other, if the 2" side is on the right side of your first panel, make sure it is on the left side of your second panel.
 |
| Top and Bottom |
Once you get the hang of it, curtains are very quick project. I was able to put all four panels together for my dining room in the span of a Sunday afternoon.
With that, I wish you all good luck in creating your own curtains. If you have any questions, feel free to message me. It really is a simple project with the potential of created a large impact to your room at a relatively low cost.
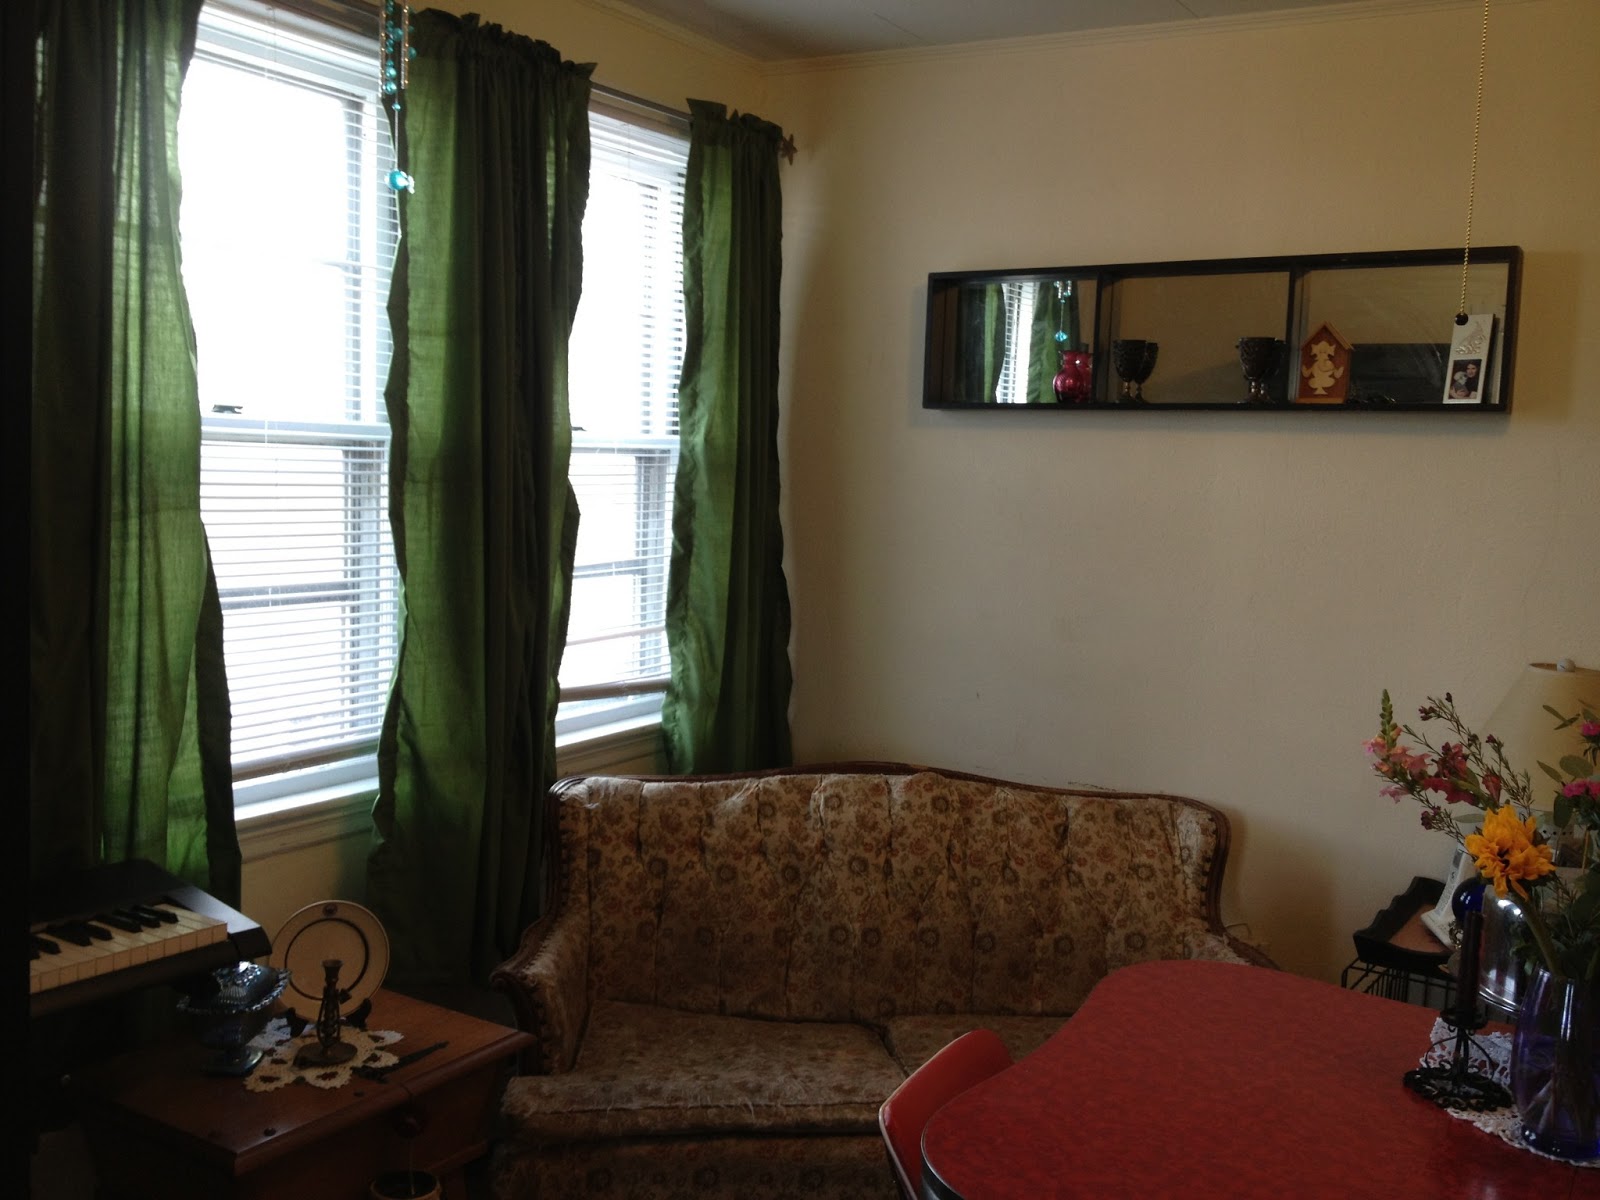 |
| The Finished Project |
Thank you so much for taking the time to share with us how you make your own curtains! Curtains, with their ability to soften and enliven a dull wall, have grown to be a necessity in each household. They control the amount of light that comes inside and also provide privacy. I'm sure a lot of your readers will find these tips and tricks truly useful.
ReplyDeleteRoxie @ Allure Window Treatments