Showing posts with label budget. Show all posts

Saturday, May 18, 2013

Kitchen Wall Decor, a la Pinterest

I hate empty walls. Rooms with empty walls feel institutional, and echo-y. Neither of which are words that I want to describe my home. Most of my rooms seem to decorate themselves, wedding pictures certainly help.   My kitchen was a bit more of a challenge. I'm decorating the room in red, black, and white with a bit of a country feel. At first I looked at retro kitchen metal signs, but I could not find one that I was willing to commit to. My kitchen also turned out to be a bit more country than I had originally expected. While this is a good thing, it further discouraged me from the retro look. This led to quite a conundrum. A kitchen with empty walls.

One day, on a whim, I decided to browse Pinterest. A friend posted a free printable for kitchen art with a blue scheme. I liked the wording, but the blue just would not work. On a whim, I went to the original site. To my surprise, the author designed the printables in red too! Instant kitchen art work, and I was not even trying! I printed them out on white, canvas-textured card stock and framed them in $4 8x10 black wooden frames from Wal-Mart. Voila, wall art for about eight bucks that perfectly matches the look and feel of my kitchen.


The lesson learned through this unexpected find? Pinterest has a plethora of frame-able printables for any room. I'm considering using more printables for a photo collage I have planned for my hallway. We shall see.

A very special thank you to Paper and Pigtails for their Kitchen Art Prints!

Wednesday, May 8, 2013

My Solar Dryer

Thom and I have a rule that we follow in terms of making changes that benefit the environment, if it saves us money or provides some other benefit, we go for it. I am not saying that we are particularly wasteful or that we have no interest in saving the environment, we just find the added benefits tend to be highly reinforcing. For example, we switched every light bulb in the apartment over to CFLs, and saved about $20/month on our electric bill. We recycle everything, because it is free to fill the recycling bin but garbage bags cost $1 a piece. We return all of our returnable containers, even if we purchase a drink at work we bring the bottle home to get the nickel, it adds up. We open the curtains in the winter to maximize on sun exposure to reduce heat costs, and we keep our curtains closed in the summer to reduce cooling costs. The list goes on and on.


Our latest project is the result of a year and a half quest. I enjoy drying my clothes on a clothesline. I like how clothes smell after drying in the sunlight, and the slight stiffness makes folding a snap. My problem was that I did not want a clothesline that was always hanging, I wanted one that I could easily take down so that we could enjoy the deck for other uses. I knew exactly what I needed: a retractable clothesline. The problem was I could not find one anywhere I looked. I finally decided to check the locally owned hardware store just down the street, bingo. I found it! That, along with some hooks and a package of clothespins, and I now have a clothesline. Well, three lines if you want to get technical. Once my clothes are dry, I just unhook the end of the line and everything tucks neatly away. I absolutely love it. Laundry has become a relaxing chore, rather than babysitting a washing machine and a dryer, I just grab everything after a spin cycle, hang, and forget about it. I am saving money too, it may only be a couple of dollars per month, but it will adds up. Since our apartment building uses a gas dryer, I am also reducing our carbon footprint, so the Earth is happy too. A win-win situation all around.

Monday, April 29, 2013

DIY Curtains

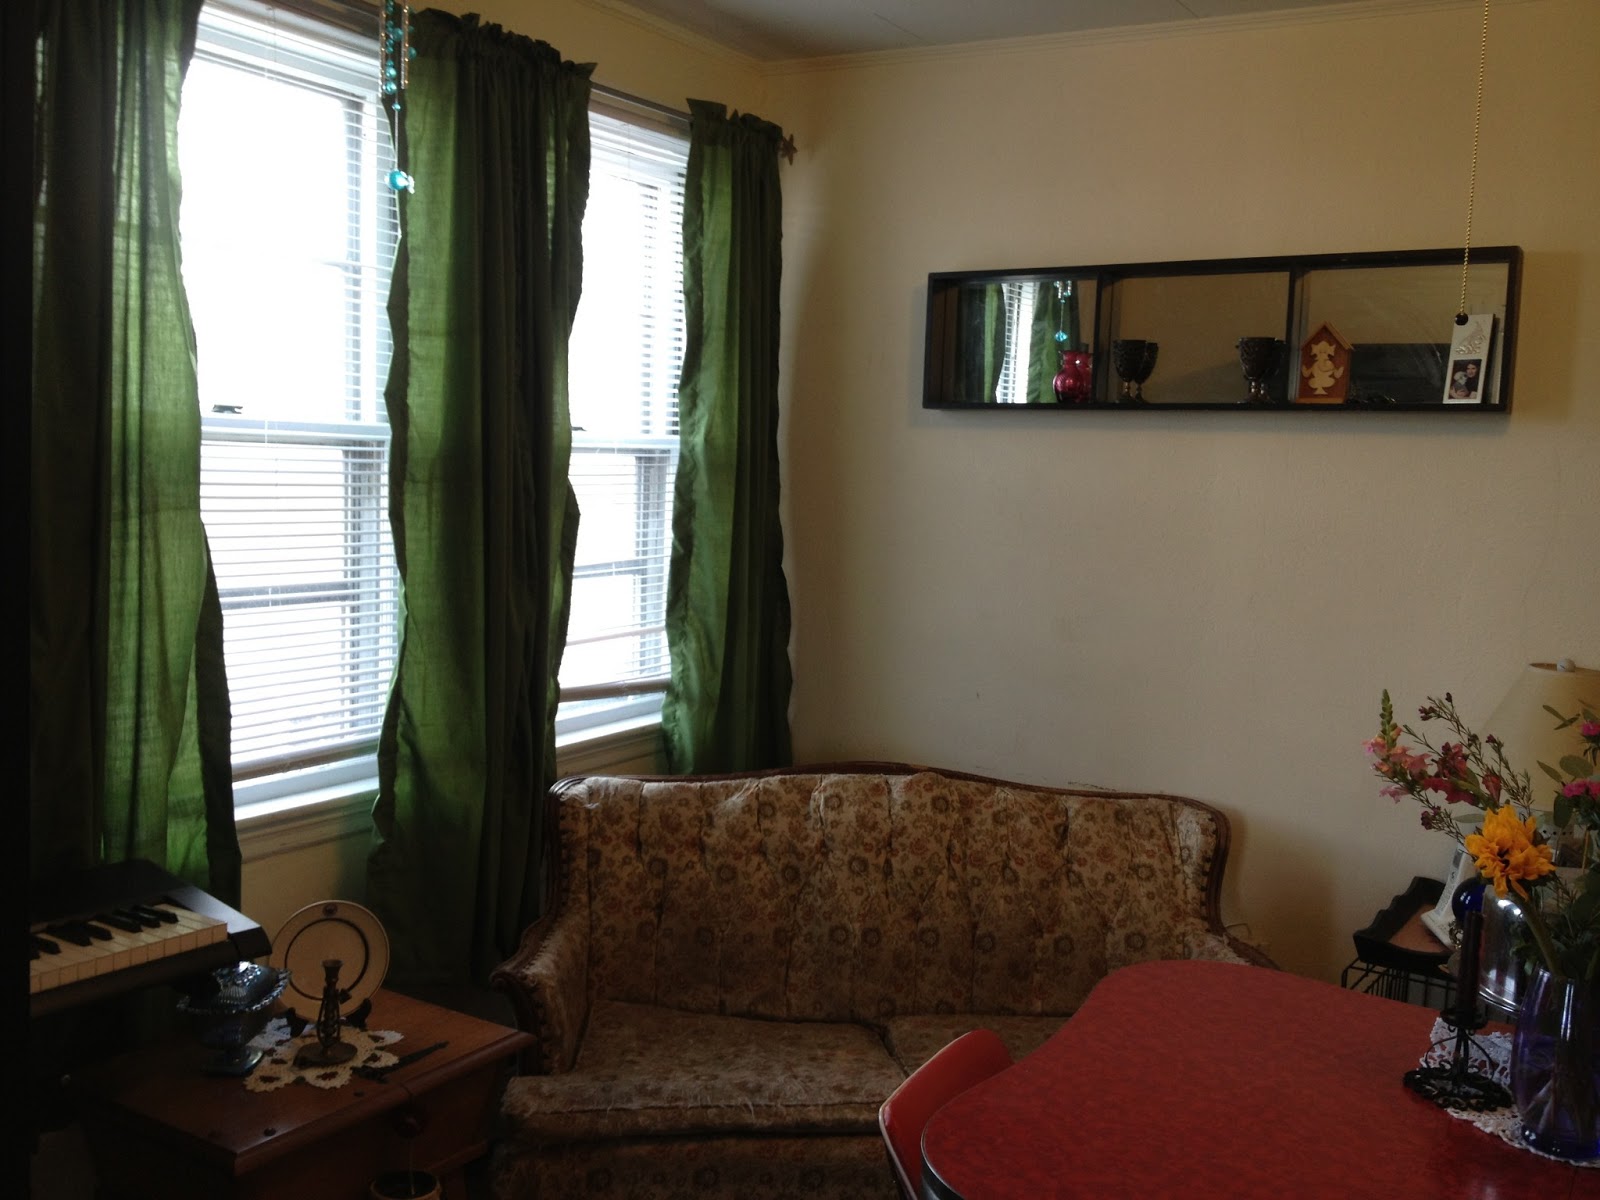
I love curtains. Want to make a room look homey? Hang curtains. There is only one problem with this, commercial vendors have caught on to the big effect a rectangle of fabric can bring to a room, and mark up the price accordingly. I refuse to purchase pre-made curtains, and you should too, they extremely easy to sew, anyone with a sewing machine and the ability to sew in a straight line can do it.

The first thing you need to do is measure your windows. If you live in a newer home, you might be able to get away with only measuring one window. I live in an older building, and I had to measure all of my windows. This is because living room, for example, has four different sized windows. Once everything is measured, you need to determine how long  you want your curtains to be. My living room curtains go the full length of the window and then hang a little below the sill. Despite having four different sized windows, I made all of my curtains the same length to at least give the illusion of identical sized windows.

Now you are ready to determine the size of your curtain panels. For each panel, take the width of your window and add three inches to finish off your edges. Now take the desired length of your curtain and add 5 1/2 inches for the bottom hem and the top pocket that the rod slides through. Each window requires two panels, use these measurements to determine how much fabric you will need, then it is time to visit a fabric store. Curtains require quite a bit of fabric, so be on the watch for sales. I was able to purchase the fabric for my living room and dining room curtains for $1.99/yard. Do not forget to purchase matching thread when you purchase fabric. I have eight panels in my living room and I did not use the entire spool of thread, so one spool should be fine for most rooms.

Cut your fabric according to your determined measurements for each panel. You should also iron each panel too to remove any creases. Zig zag
Side seams
stitch all four sides to prevent unraveling.

Stitch the sides first. On one side fold the fabric over by 1" and stitch down, this is going to be the outside edge of your curtains. Fold the fabric over by 2" on the opposite side and stitch down. This will be the side of the panel that goes down the center of the window when the curtains are closed. Iron each side to set the creases.

Now it is time to stitch the top and bottom. Fold the top of the panel over 4" and stitch down along the edge of the fabric you folded over. Now stitch an additional line 1 1/2" from the fold. This should create a 2" pocket for the curtain rod to slide through and a 1 1/2" piece that sits above the curtain rod.

Finally, stitch a 1 1/2" hem along the bottom of your curtain. Voila! You have created a curtain panel. Now repeat all the steps to make a second panel for the same window, just make sure the two panels mirror each other, if the 2" side is on the right side of your first panel, make sure it is on the left side of your second panel.

Top and Bottom
As far as hanging goes, any curtain rod will do. I like to get the fancy metal curtain rods with the decorative finials. I like the way they finish off the windows, and I have been able to get them for a good price at stores like Big Lots or the Christmas Tree Shop. Just follow the directions that came with your curtain rod for hanging.

Once you get the hang of it, curtains are very quick project. I was able to put all four panels together for my dining room in the span of a Sunday afternoon.

With that, I wish you all good luck in creating your own curtains. If you have any questions, feel free to message me. It really is a simple project with the potential of created a large impact to your room at a relatively low cost.


The Finished Project

Thursday, April 25, 2013

Home Decorating, On a Budget

Thom and I moved out of my mother's basement and into a third floor walk-up two bedroom apartment exactly one week before our wedding. We could fit the majority of our belongings at the time in the back of our four door sedan and used a small moving truck to carry the little furniture that we did have. Needless to say, our apartment was rather empty at first and less than functional. Over the course of the last year and a half we have slowly transformed our apartment into a home.

We still have a bit to go, but as you can see from the above picture of my dining room, we have come a long way. Our crowning achievement is going to be a furniture delivery that should be taking place this summer. That delivery will include our bedroom set, a new entertainment unit for the living room, and a new dining room set, more on that later. What I have learned over the last year and a half is how to furnish a two bedroom apartment without breaking the bank. Surprisingly, many of these lessons were learned during wedding planning.

Without further ado, tried and true tips on cost effective home decor:

  • Work with what you already have, it is a lot more affordable to alter an existing piece than to buy something brand new. A couple of cans of black spray paint have done wonders in my kitchen.
  • Make a budget, and stick to it. The concept of a budget for home decor is a bit looser for home decor. For example, when planning a wedding, there is a specific time frame in which everything needs to be paid for so you need to plan a budget according to that time frame. The joy of home decor is that there is no due date, it is an ongoing process. When it comes to a budget, have a general idea of how much you want to spend for a specific aspect, such as furniture, or a rug, or how much you want to spend in a month or a season, then just work within those parameters.
  • DIY everything that you can. Curtains are easy to make, and can save you hundreds. Throw pillows can be equally easy to make. For the less crafty inclined, a can of spray paint or a little elbow grease can update and otherwise outdated piece.
  • Do not be afraid of off-price outlets and discount stores. The area rugs in my living room and dining room cost me $30 each. My curtain rods with fancy finials cost me less than $7 each. Stay away from malls and full price, name brand stores. You can often get the same things at a fraction of the cost elsewhere.
  • Seek out your available resources. Do you have a sister that likes to paint? Ask her to paint you a mural. How about a friend that likes wood working? Inquire if they would be willing to help you with some handmade furniture. Thom and I acquired several pieces from older relatives cleaning out their attics. You would be surprised at what you can find for little to no cost.
  • Before you buy anything choose a color palette, and stick to it. I have burgundy, olive green, and gold throughout the living room, dining room, and kitchen of my apartment. All of the furniture is an ebony wood. This is not so much of a cost-effective tip as it is an overall decor tip. Keeping the same color palette gives the feeling of flow throughout the house. You can stray from the color palette in rooms that have a door that separates them from the remainder of your home, such as a bedroom or a bathroom. 
That is my list for now, if I think of anything else, I will update. Do you have any tips for decorating on a budget? 
Related Posts Plugin for WordPress, Blogger...